Getting Started
Get Grackle running and spawn your first AI agent session in about 5 minutes.
Requirements
- Node.js 22 or later
- Docker (if you want containerized environments)
Option 1: Docker (recommended)
Pull and run the pre-built image from GitHub Container Registry:
docker run -it --rm \
  -p 3000:3000 -p 7434:7434 -p 7435:7435 \
  -v /var/run/docker.sock:/var/run/docker.sock \
  -v grackle-data:/data \
  ghcr.io/nick-pape/grackle:latest
The image sets GRACKLE_HOME=/data and runs as the node user, so mount the named volume at /data to persist your database and API key across container restarts.
This gives you the full Grackle stack — server, web UI, MCP server, and a local PowerLine instance — in one container. Mount the Docker socket to let Grackle create agent environments as sibling containers.
Option 2: npm / CLI
# Install the CLI globally
npm install -g @grackle-ai/cli

# Start the server
grackle serve
You can prefix every command with npx instead:
npx @grackle-ai/cli serve
pnpm v8+ blocks native install scripts by default. If grackle serve crashes with a Could not locate the bindings file error, run pnpm approve-builds after installing, or add this to your package.json:
{ "pnpm": { "onlyBuiltDependencies": ["better-sqlite3"] } }
Option 3: From source
git clone https://github.com/nick-pape/grackle.git
cd grackle
rush install && rush build
node packages/server/dist/index.js
What starts
However you install, the server starts three services on localhost:
| Service | Port | Purpose |
|---|---|---|
| Web UI | 3000 | Dashboard, chat interface, real-time streaming |
| gRPC server | 7434 | CLI and PowerLine communication |
| MCP server | 7435 | AI agent tool access |
A local PowerLine instance also starts automatically — you can run agents on your own machine right away.
First launch
Navigate to http://localhost:3000. The setup wizard walks you through:
- Welcome — Brief intro to what Grackle does
- Runtime selection — Pick your default agent (Claude Code, Copilot, Codex, or Goose)
- Done — Creates your default persona and drops you into the chat interface
Set up credentials
Your chosen runtime needs API credentials. See the full credential setup guide or quick-start with:
# For Claude Code
grackle credential-provider set claude api_key
grackle token set ANTHROPIC_API_KEY --env-var ANTHROPIC_API_KEY

# For Codex
grackle credential-provider set codex on
grackle token set OPENAI_API_KEY --env-var OPENAI_API_KEY

# For Copilot
grackle credential-provider set github on
grackle credential-provider set copilot on
Add a Docker environment
If you have Docker running, add a containerized environment:
grackle env add my-env --docker
grackle env provision my-env
The provision step pulls an image, starts a container, installs PowerLine inside it, and connects. You'll see progress streamed to your terminal.
Spawn your first session
grackle spawn my-env "Say hello and list the files in the current directory"
You'll see the agent's output streamed in real time — text, tool calls, and results. Press Ctrl+C to detach (the session keeps running).
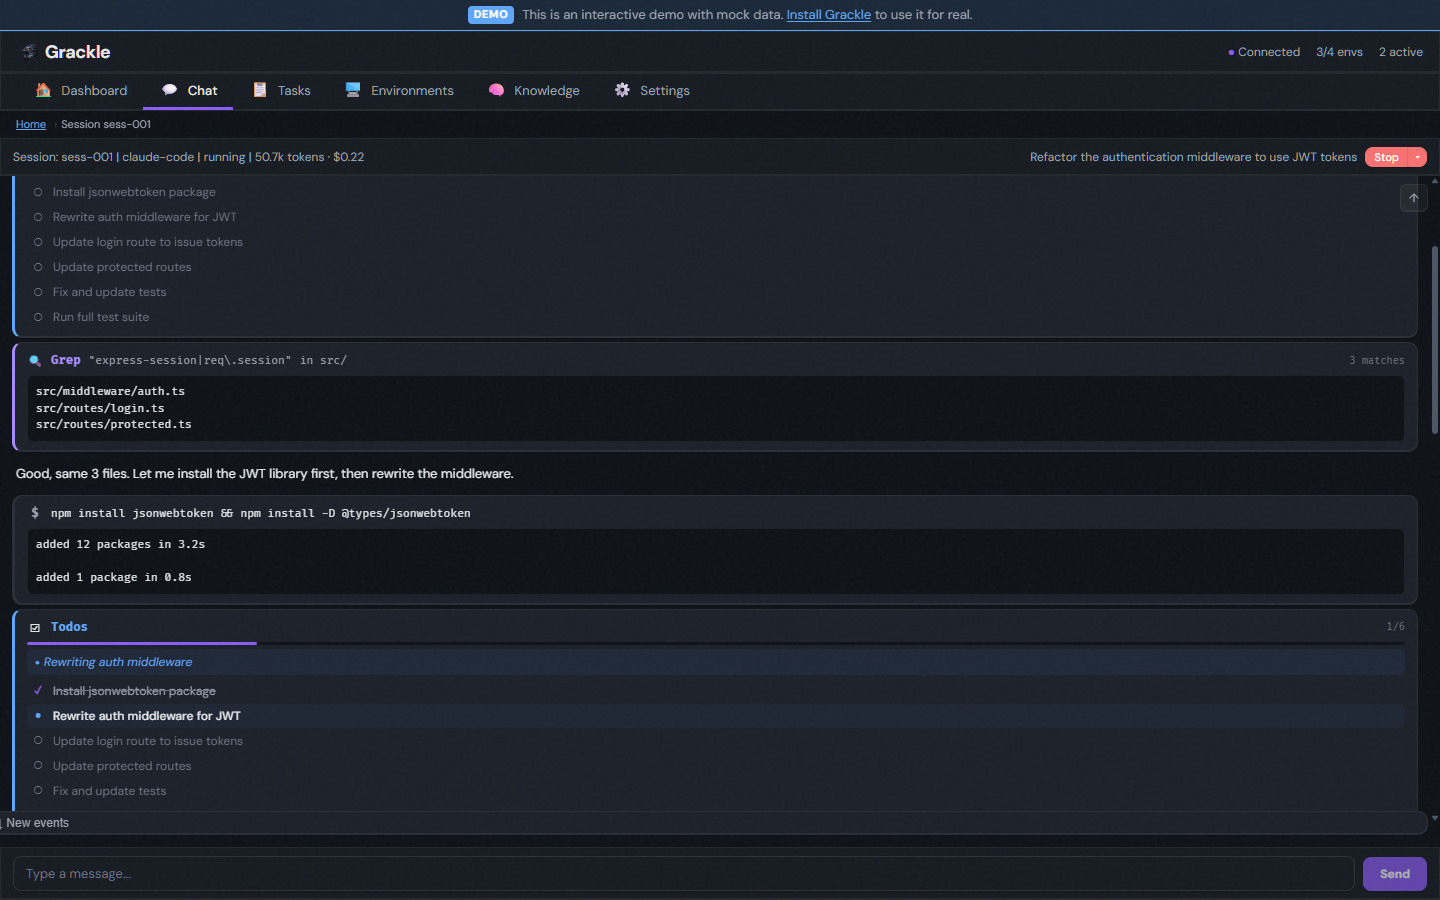
You can also spawn sessions from the web UI by typing your request into the chat interface.
What's next
You now have a working Grackle setup. From here:
- Chat interface — Use natural language to manage everything
- Add more environments — SSH hosts, Codespaces, or just use the built-in local environment
- Create a workspace — Organize work into tasks with dependencies and branch isolation
- Configure personas — Customize agent behavior with system prompts, tools, and model selection
- Multi-agent orchestration — Scale from one agent to coordinated teams